Interactive Microscopy Control with ImJoy
Author: Wei OUYANG
ImJoy is a web framework for building interactive analysis tools. You can also use it to build easy-to-use and interactive data acquisition tool together with pycro-manager.
In this tutorial notebook, we will go through the steps for using ImJoy plugins with Pycro-Manager to control your microscope interactively.
Here is a outline of this tutorial:
Preparation
Acquire an image and display it with matplotlib
Acquire and display images continuously with matplotlib
Build your first ImJoy plugin
Snap an image in the ImJoy plugin
Visualize the image with the itk-vtk-viewer plugin
Use a dedicated UI plugin with Pycro-Manager
Deploy your plugin to Github and share it
Additional Resources
Preparation
You will be able to follow this tutorial in a local installation of Jupyter notebook. To use Pycro-Manager(which connects to Micro-Manager), you need to run the jupyter notebook server (typically with the jupyter notebook command) on the computer with Micro-Manager.
Importantly, Pycro-Manager exposes full access of your microscope to the python scripting interface, please be careful that some commands (e.g. moving the stage) may damage your hardware. Although this tutorial only involves camera control which is safe, we still recommend to disconnect your hardware and start Micro-Manager with the simulated demo devices for exploration, and only connect the hardware when you fully understand the scripts.
Install Pycro-Manager, ImJoy and ImJoy Jupyter Extension by run
pip install pycromanager imjoy imjoy-jupyter-extension, then start or restart your Jupyter notebook server by usingjupyter notebookcommand.Create an empty notebook, or download and run this one. Make sure you see an ImJoy icon in the toolbar in opened notebooks.
If you don’t have Micro-Manager installed, download the lastest version of micro-manager 2.0
Run Micro-Manager, select tools-options, and check the box that says Run server on port 4827 (you only need to do this once)
[ ]:
# if you don't see an ImJoy icon (blue) in the toolbar, run this cell
!pip install -U pycromanager imjoy imjoy-jupyter-extension

# And, restart your jupyter notebook after running the above command
To quickly verify whether you have everything ready, you should see something like 'MMCore version 10.1.0' without error after running the following cell.
[15]:
from imjoy import api

from pycromanager import Core

core = Core()
core.get_version_info()
[15]:
'MMCore version 10.1.0'
Acquire an image and display it with matplotlib
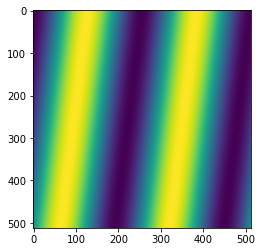
By calling core.snap_image() we can control micromanager to acquire image and use core.get_tagged_image() to fetch the image data.
In a notebook, we can use matplotlib function plt.imshow to visualize the image.
[16]:
%matplotlib inline
import numpy as np
from matplotlib import pyplot as plt


def snap_image():
    # acquire an image and display it
    core.snap_image()
    tagged_image = core.get_tagged_image()
    # get the pixels in numpy array and reshape it according to its height and width
    image_array = np.reshape(
        tagged_image.pix,
        newshape=[-1, tagged_image.tags["Height"], tagged_image.tags["Width"]],
    )
    # for display, we can scale the image into the range of 0~255
    image_array = (image_array / image_array.max() * 255).astype("uint8")
    # return the first channel if multiple exists
    return image_array[0, :, :]


plt.imshow(snap_image())
[16]:
<matplotlib.image.AxesImage at 0x11ad03fd0>
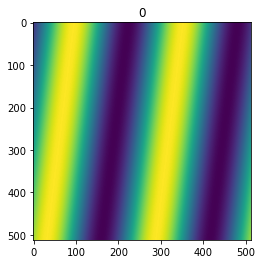
Acquire and display images continuously
Since we are doing microscopy imaging with the microscope, it’s important to be able to see a live stream, for example, for finding a field of view.
Jupyter notebook has little support for visualizing real-time data itself, but we can try to achieve live update by repeatitively clear the plot and draw again.
[17]:
from IPython.display import clear_output

for i in range(5):
    clear_output(wait=True)
    plt.figure()
    plt.title(i)
    plt.imshow(snap_image())
    plt.show()
While we can see the live stream, it provides litte interactivity, for example, if we want to do contrast stretching, we will have to stop the stream and change the code. ipywidgets is a Jupyter extension that designed for adding basic control elements (e.g. buttons and sliders) to control python code execution. There are also other similar extensions such as mpl-interactions, and you can find more in widgets (thanks to @ianhi).
In addition to these existing options, we built imjoy-jupyter-extension that utilizes the ImJoy framework to introduce interactivity to Jupyter notebooks. It allows Python code to interact web UI directly without making dedicated Jupyter widgets in Python. It simplify the development of UI widgets, improve code reuse, and users can simply refer to an URL to extend the UI.
In the following section, we will show you how we can achieve better interactivity by building an ImJoy plugin.
Build your first ImJoy plugin
Let’s start by making a “hello world” plugin example with ImJoy.
An ImJoy plugin is a class defines at least two functions setup and run. In the setup function we put preparation or initialization code and the run function is an entrypoint when the user starts the plugin. As an example, we do nothing in the setup function and popup a hello world message in the run function.
Importantly, you need to export your plugin by running api.export(ImJoyPlugin()) to register the plugin to the ImJoy core (running in the browser with the notebook page).
Now run the following cell.
If you see a popup message saying “hello world”, congrats that you have build your first ImJoy plugin!
[ ]:
from imjoy import api


class ImJoyPlugin:
    """Defines an ImJoy plugin"""

    async def setup(self):
        """for initialization"""
        pass

    async def run(self, ctx):
        """called when the user run this plugin"""

        # show a popup message
        await api.alert("hello world")


# register the plugin to the imjoy core
api.export(ImJoyPlugin())
Note: if the async and await keywords are new to you, you may want to learn about an imporant programing style called “asynchronous programming”. It’s basically a cheap way to achieve parallelizatin in a single thread, and Python3 provides asyncio API for it. With the async/await syntax, you can write async code as you usually do with your other synchronous code.
Don’t worry if you don’t fully understand asynchronous programming. For now you can treat it the same as regular python programming, but remember the following simplified rules:
it is recommended to add
awaitbefore every ImJoy api call exceptapi.export, e.g.: doawait api.alert("hello").if you used
awaitin a function, then you have to also addasync defto define the function.
Snap an image in the ImJoy plugin
Now let’s define a function for acquire images with Pycro-Manager and call it snap_image(). Add this function into the plugin class and use it in the run function.
Run the fullowing cell, you should see a message if you acquired an image.
[ ]:
import numpy as np
from imjoy import api

from pycromanager import Core


class MyMicroscope:
    """Defines a Microscope plugin"""

    async def setup(self):
        """initialize the pycro-manager bridge"""
        self._core = Core()

    def snap_image(self):
        """snape an image with the pycro-manager bridge and return it as a numpy array"""
        self._core.snap_image()
        tagged_image = self._core.get_tagged_image()
        # get the pixels in numpy array and reshape it according to its height and width
        image_array = np.reshape(
            tagged_image.pix,
            newshape=[-1, tagged_image.tags["Height"], tagged_image.tags["Width"]],
        )
        # for display, we can scale the image into the range of 0~255
        image_array = (image_array / image_array.max() * 255).astype("uint8")
        return image_array

    async def run(self, ctx):
        """acquire one image and notify the user"""
        img = self.snap_image()
        # show a popup message
        await api.alert(
            "Acquired an image (size={}) with Pycro-Manager".format(img.shape)
        )


# register the plugin to the imjoy core
api.export(MyMicroscope())
Visualize the image with the itk-vtk-viewer plugin
To show the images, we can use another ImJoy plugin called itk-vtk-viewer which provide rich featuers including color map, contrast stretching, scaling. It can be used directly via this link: https://oeway.github.io/itk-vtk-viewer/ as standalone web app, but also available as an ImJoy plugin.
To use it, you can run viewer = await api.showDialog(src="https://oeway.github.io/itk-vtk-viewer/") to create a viewer. The returned viewer object contains a set of API functions exported by the itk-vtk-viewer plugin, and we will call viewer.imshow() for displaying images where imshow is one of the API functions.
Note that we need to add await before api.showDialog, but also all the returned API functions including imshow().
In the following plugin, we call snape_image and viewer.imshow in a for loop inside the run function, to continuously display the image.
[20]:
import numpy as np
from imjoy import api

from pycromanager import Core


class MyMicroscope:
    """Defines a Microscope plugin"""

    async def setup(self):
        """initialize the pycro-manager bridge"""
        self._core = Core()

    def snap_image(self):
        """snape an image with the pycro-manager bridge and return it as a numpy array"""
        self._core.snap_image()
        image_array = self._core.get_image().reshape(512, 512)
        # for display, we can scale the image into the range of 0~255
        image_array = (image_array / image_array.max() * 255).astype("uint8")
        return image_array

    async def run(self, ctx):
        """acquire 100 images and show them with itk-vtk-viewer"""
        viewer = await api.createWindow(src="https://oeway.github.io/itk-vtk-viewer/")
        api.showMessage("Acquiring 100 images")
        for i in range(100):
            img = self.snap_image()
            await viewer.imshow(img)
        api.showMessage("Done.")


api.export(MyMicroscope())
[20]:
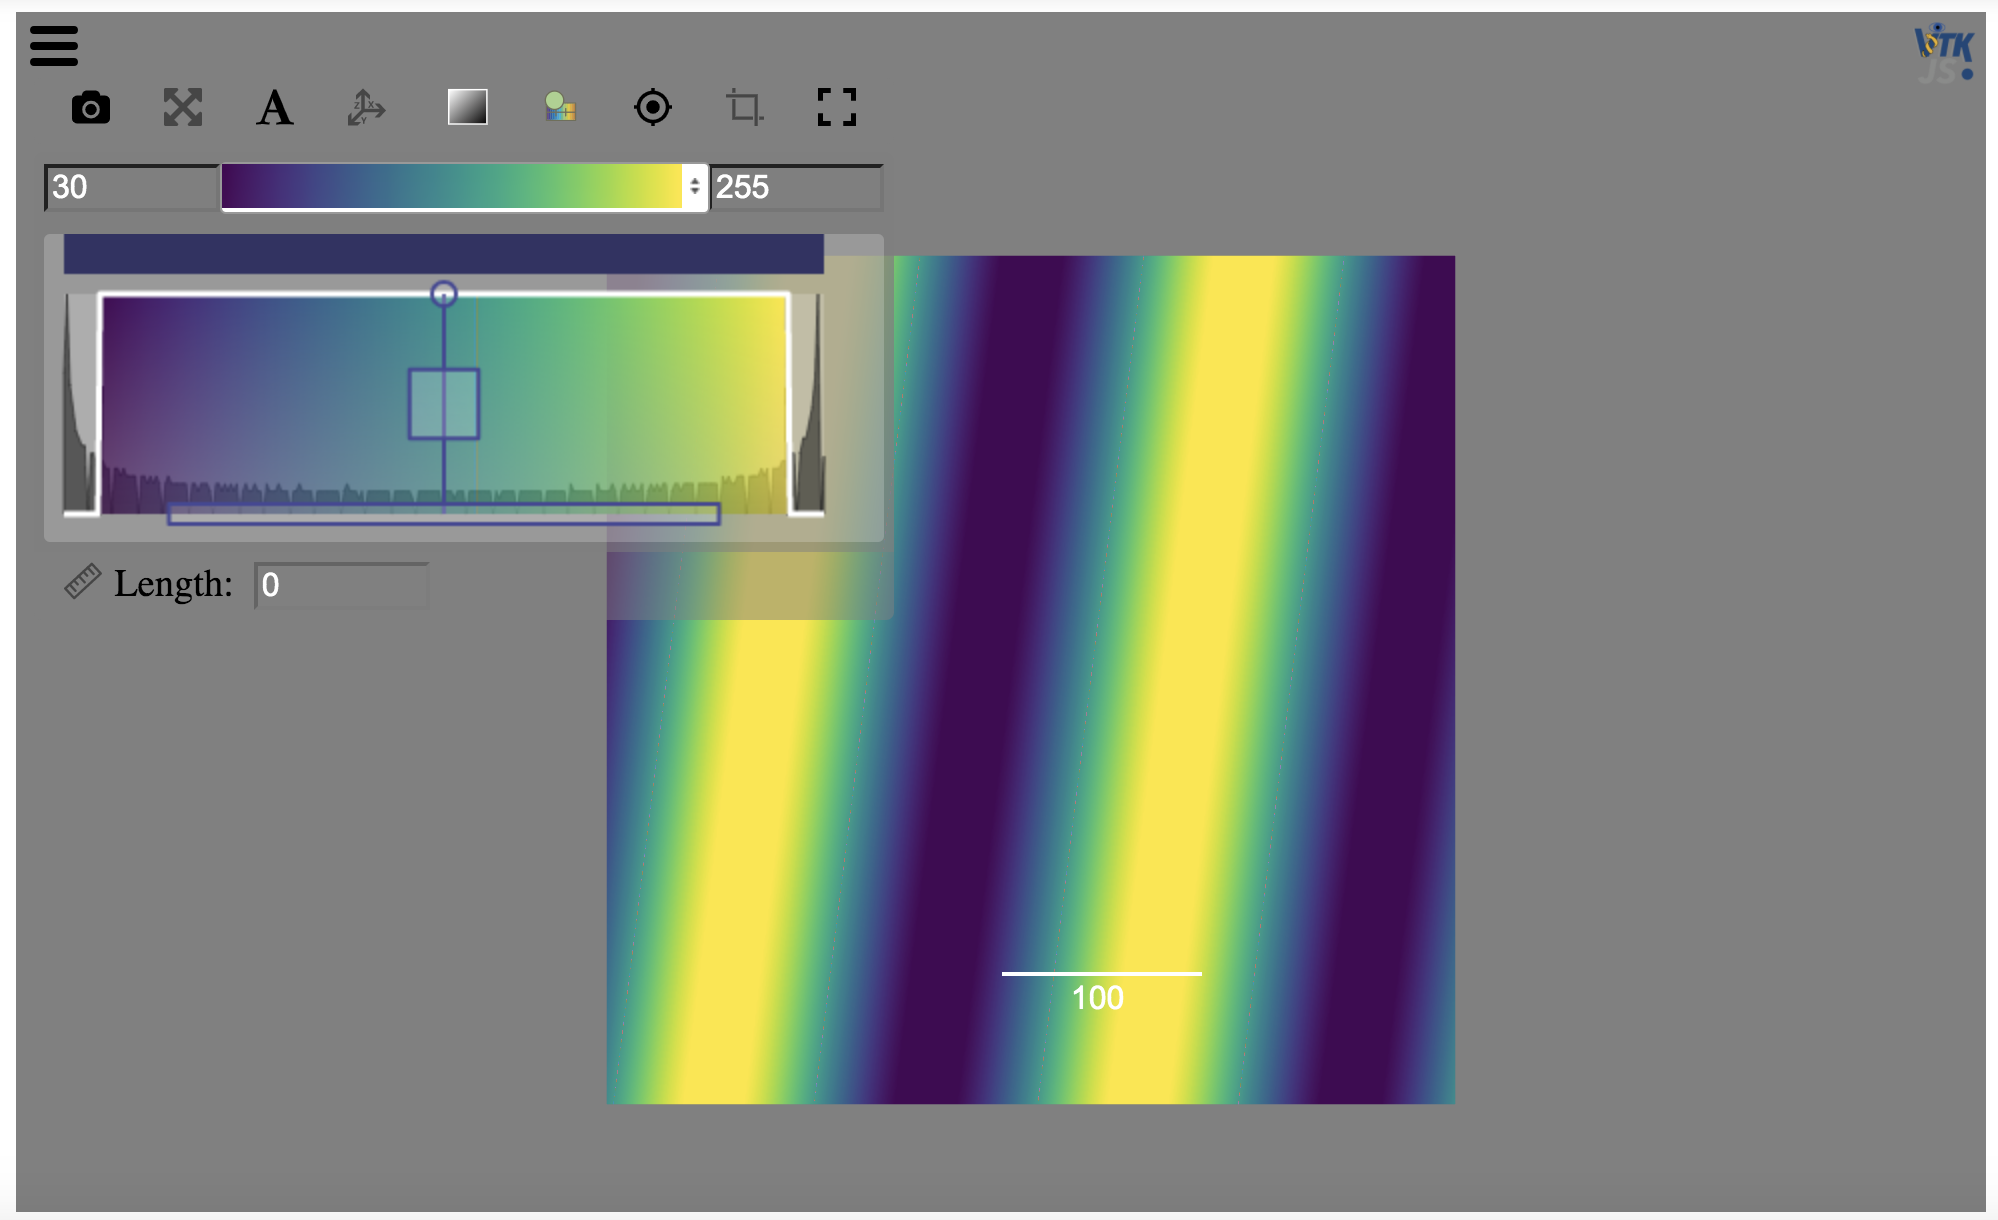
The itk-vtk-viewer plugin provides rich features for inspecting the displayed image, but it does not provide features to control the microscope.
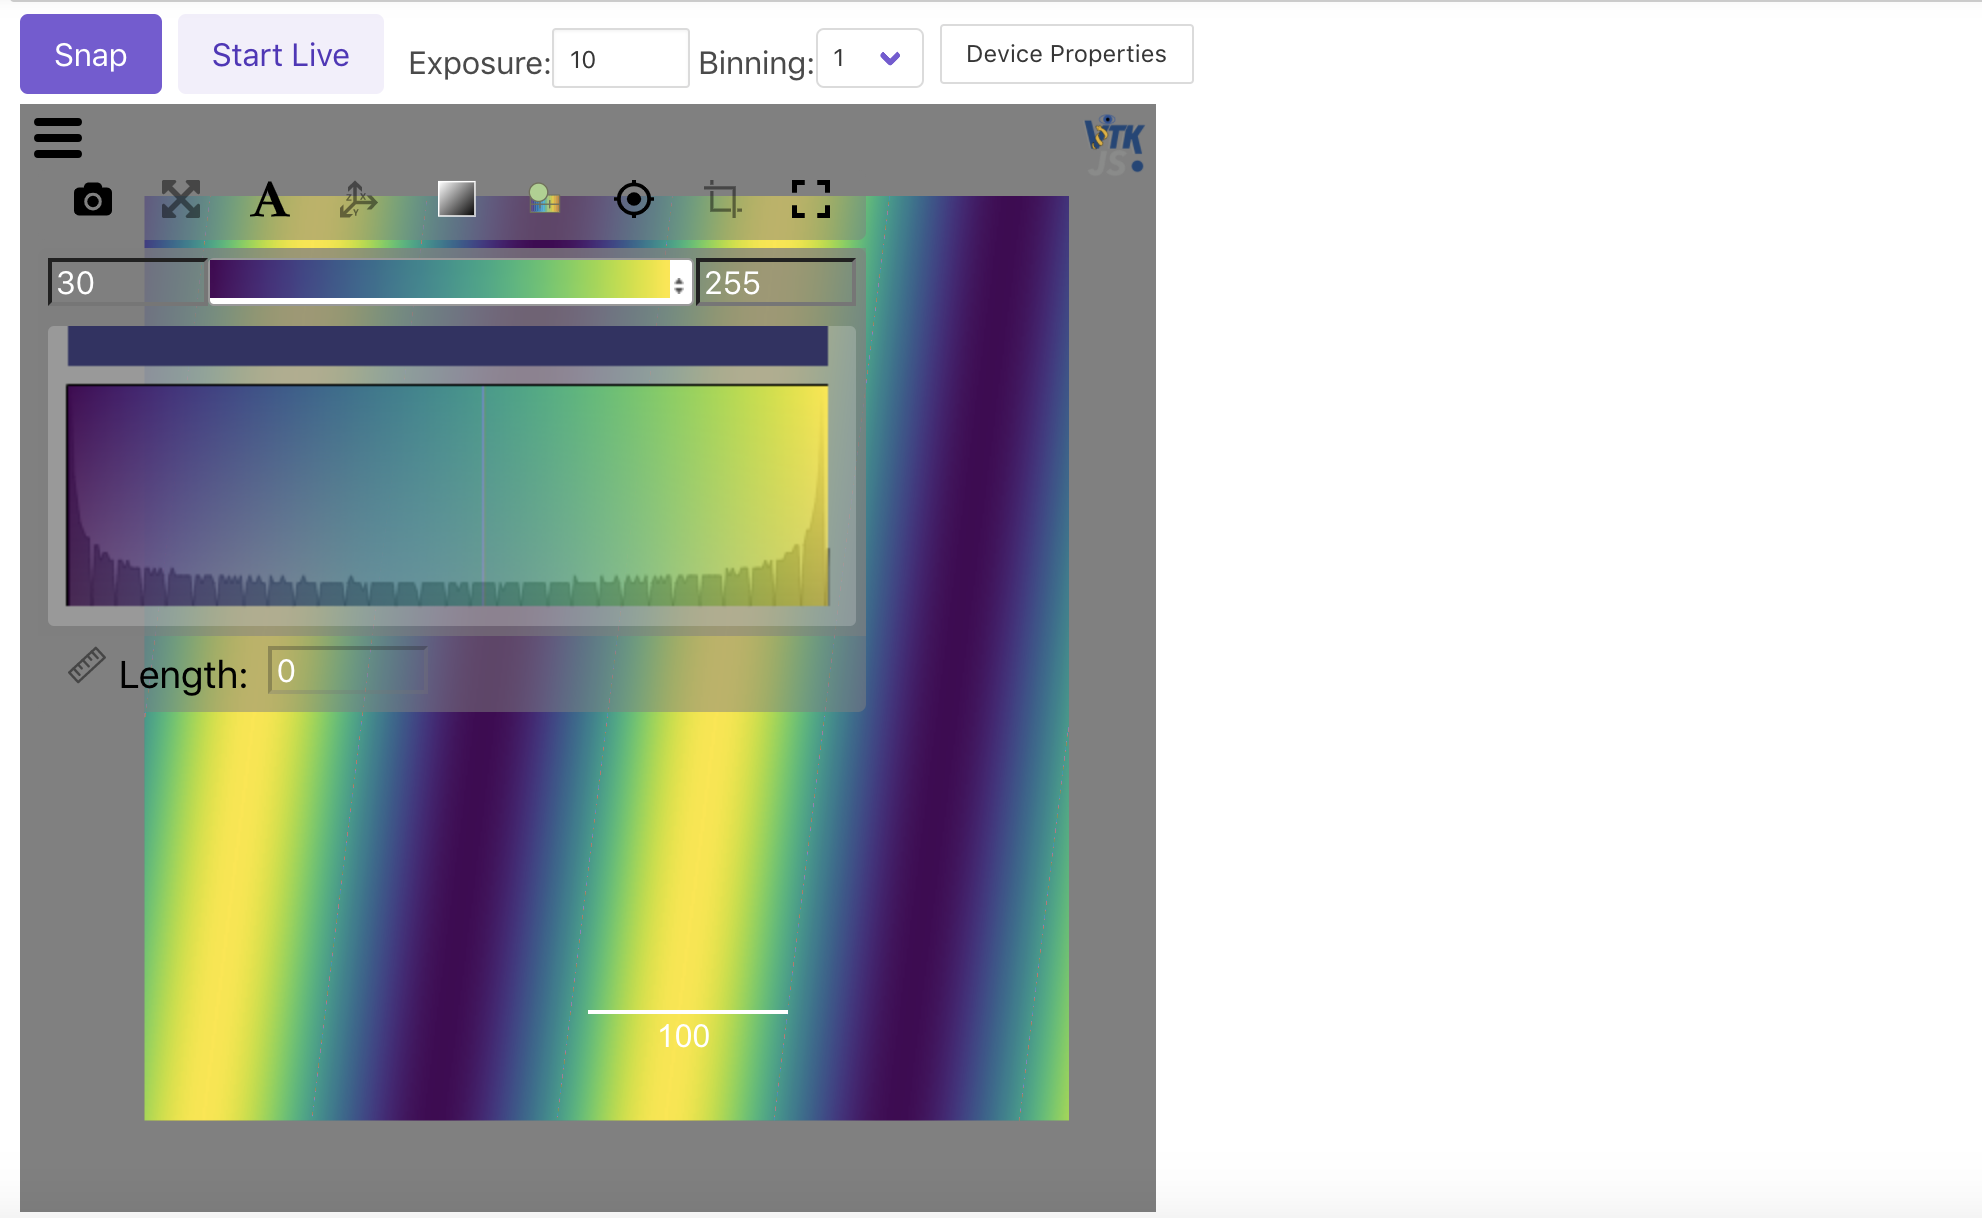
Use a dedicated UI plugin with Pycro-Manager
ImJoy allows developers build custom plugins and can be easily used later in another plugin. For example, we can add buttons to snap image, provide options to change exposure in a custom UI plugin.
For working with Pycro-Manager, we made a dedicated UI plugin called “PycroCam” which can be referred via https://gist.github.com/oeway/f59c1d1c49c94a831e5e21ba4c6111dd. If you are interested in how to make such a plugin, cick the link and you will see the plugin source code in HTML, Javascript and CSS.
For this tutorial, we will focuse on using such a plugin with Pycro-Manager and it’s as easy as calling pycrocam = await api.createWindow(src="https://gist.github.com/oeway/f59c1d1c49c94a831e5e21ba4c6111dd", data={...}).
Slightly different from the above example where we create a window via api.createWindow and we use the returned viewer object to access API functions such as imshow. In this example, we will directly pass a set of Micro-Manager core api functions to the PycroCam plugin so we can directly control the microscope within the plugin.
In the following run function, you will see that we first construct a dictionary (named mmcore_api) with a set of functions required by the plugin including snapImage, getImage and setExposure. Then we pass the dictionary into api.createWindow() as a keyword data, specifically, data={'mmcore': mmcore_api}.
Run the following cell, and you will see the PycroCam UI with snap and live buttons, set exposure and binning. In addition you can click the “Device Properties” which will popup a device property browser. Just like the one in Micro-Manager itself, you can change almost any property with that.
[21]:
import time

import numpy as np
from imjoy import api

from pycromanager import Core


class MyMicroscope:
    async def setup(self):
        self._core = Core()
        exposure = self._core.get_exposure()
        api.showMessage("MMcore loaded, exposure: " + str(exposure))

    def snap_image(self):
        if self._core.is_sequence_running():
            self._core.stop_sequence_acquisition()
        self._core.snap_image()
        return self.get_image()

    def get_image(self):
        # we can also check remaining with getRemainingImageCount()
        tagged_image = self._core.get_tagged_image()
        image_array = np.reshape(
            tagged_image.pix,
            newshape=[-1, tagged_image.tags["Height"], tagged_image.tags["Width"]],
        )
        image_array = (image_array / image_array.max() * 255).astype("uint8")
        return image_array

    def get_device_properties(self):
        core = self._core
        devices = core.get_loaded_devices()
        devices = [devices.get(i) for i in range(devices.size())]
        device_items = []
        for device in devices:
            names = core.get_device_property_names(device)
            props = [names.get(i) for i in range(names.size())]
            property_items = []
            for prop in props:
                value = core.get_property(device, prop)
                is_read_only = core.is_property_read_only(device, prop)
                if core.has_property_limits(device, prop):
                    lower = core.get_property_lower_limit(device, prop)
                    upper = core.get_property_upper_limit(device, prop)
                    allowed = {
                        "type": "range",
                        "min": lower,
                        "max": upper,
                        "readOnly": is_read_only,
                    }
                else:
                    allowed = core.get_allowed_property_values(device, prop)
                    allowed = {
                        "type": "enum",
                        "options": [allowed.get(i) for i in range(allowed.size())],
                        "readOnly": is_read_only,
                    }
                property_items.append(
                    {"device": device, "name": prop, "value": value, "allowed": allowed}
                )
                # print('===>', device, prop, value, allowed)
            if len(property_items) > 0:
                device_items.append(
                    {
                        "name": device,
                        "value": "{} properties".format(len(props)),
                        "items": property_items,
                    }
                )
        return device_items

    async def run(self, ctx):
        mmcore_api = {
            "_rintf": True,
            "snapImage": self.snap_image,
            "getImage": self.get_image,
            "getDeviceProperties": self.get_device_properties,
            "getCameraDevice": self._core.get_camera_device,
            "setCameraDevice": self._core.set_camera_device,
            "startContinuousSequenceAcquisition": self._core.start_continuous_sequence_acquisition,
            "stopSequenceAcquisition": self._core.stop_sequence_acquisition,
            "setExposure": self._core.set_exposure,
            "getExposure": self._core.get_exposure,
            "setProperty": self._core.set_property,
            "getProperty": self._core.get_property,
        }
        viewer = await api.createWindow(
            src="https://gist.github.com/oeway/f59c1d1c49c94a831e5e21ba4c6111dd",
            data={"mmcore": mmcore_api},
        )


api.export(MyMicroscope())
[21]:
Question and additional resources
If you have any question, feel free to reach out on image.sc: https://forum.image.sc/tag/imjoy
For more detailed information about ImJoy and plugin development with ImJoy, please consult https://imjoy.io/docs/.
We also made a similar tutorial for the Python binding of Micro-Manager (named pymmcore), see here. This is useful if you don’t need the java interface or you want to run multiple instances of Micro-Manager.